
Friday, 31 August 2012
recipe competition finalist
Awesome news...I'm down to the final 18 in the Instructables Chicken Recipe Competition. Take a look here if you're interested.

Monday, 27 August 2012
gooseberry and blackberry crumble

Feeling inspired following a visit to this great farm shop in Kent on the bank holiday weekend we came home and made an awesome, yet super simple gooseberry and blackberry crumble. This recipe is not too sweet so the sharpness of the fruit really shines through. Feel free to add more sugar if you have a sweeter tooth than me. It is particularly good enjoyed with some good quality vanilla ice cream. I had some assistance making this crumble so don't be concerned by the masculine hands appearing in the pictures!
Ingredients
Crumble topping:
280g Self Raising Flour
140g unsalted butter
140g sugar
60g rolled oats / ground almonds or other nuts (optional)
1 tsp ground cinnamon
Crumble filling:
1 punnet of blackberries, rinsed
500g gooseberries, rinsed
Generous sprinkle of sugar. (approx 50g)
- Preheat the oven to 180C (fan assisted)
- Place the fruit in an ovenproof dish and sprinkle with the sugar.
- Place the flour, butter, sugar and cinnamon in a large bowl and rub together with your hands until the mixture resembles breadcrumbs. You can also complete this step in a food processor. Use the pulse function so that you don't over mix it.
- Stir through the oats or nuts if using them.
- Sprinkle to crumble topping over your fruit then place in the oven.
- Depending on the size of dish and what your oven is like it will take about 30-40 minutes to cook. You want the topping to be golden brown and the fruity mixture below just bubbling through.
- Serve with a generous scoop of ice cream or custard or cream.


Belgian Beer Onion Gravy

This recipe started as another experimental creation that worked out well. We recently bought some fantastic Pembury Porkers sausages from this farm shop on the way back from a camping trip. Grilled up with some mashed potato and onion gravy, this was an excellent way to finish the bank holiday weekend.
1 tsp oil
1 large onion, sliced
couple of sprigs of rosemary
couple of bay leaves
330ml bottle of Gulden Draak or other dark, Belgian beer.
beef stock cube (optional)
1 tsp agave syrup, sugar or honey
Worcestershire Sauce to taste
Good quality vinegar to taste
salt and pepper to taste
- Over a medium heat fry the onions with the bay leaves and rosemary until they have taken on a golden colour with some decent crispy bits. This will probably take around 10-20 minutes. The longer you take over this the sweeter the final flavour will be. Colour on the onions intensifies the flavour of the gravy.
- Open and carefully pour in the Gulden Draak beer. It will probably bubble up a little but this will quickly subside. Add the beef stock cube if you're using it then cook the beer down until the smell of alcohol is gone and the liquid has reduced a little. This will be around 5 minutes depending on the heat you're using.
- Taste your gravy carefully, it will be very hot, and adjust the flavour according to your taste using the sugar, worcestershire sauce, vinegar and salt and pepper. I put in 1tsp of agave, roughly 1 tbsp of Worcestershire sauce, 2 tsp white wine vinegar and a good sprinkle of freshly ground black pepper. I did not add any salt.
- Cook for another minute or two to help the flavours mix together, then serve.


Sunday, 26 August 2012
Crumbles
Ever wanted to know how to make the best crumbles? This website is dedicated to the glory of the crumble and well worth a look. I'll be posting my version of crumble later this week.
Thursday, 23 August 2012
instructables feature

I have had one of my recipes featured on the Instructables website. Please take a minute to stop by and take a look. I've also entered the recipe for the chicken recipe contest and would be grateful if you vote for me.
Thanks
instructables
chicken recipe competition
Tuesday, 21 August 2012
chilli salt

This is a version of the chili salt you find all over Mexico. The recipe is from this book by Victoria Wise. I love to dip a halved lime in the salt then rub all over a freshly grilled corn cob. So much more healthy than the usual butter and so tasty. I also sprinkle it sparingly on fruit, it's particularly good on mango or papaya.
Ingredients
4 tbsp good quality salt
4 tbsp chili powder
1 tsp cayenne
1/8 tsp ground cloves
1/8 tsp dried oregano
Mix all the ingredients together and it's ready to use. Store in an air-tight container and it'll keep for at least a month or two. Feel free to adjust the quantities of the various spices until you find a blend you enjoy.
Monday, 20 August 2012
rum espresso cocktail

After making the poppy seed and caramel cheese cake I had some left over tinned caramel in the fridge that needed to be used up or thrown out. This combined with the fact it is a gloriously sunny Friday evening and I'm a little bit tired because it's the end of the week has led me to create this yummy drink.
I haven't tried it yet but I suspect you can use all sorts of different spirits in this drink. I think I might try some amaretto next. Mmmm....
Ingredients
Shot of espresso - use instant if you must but I refuse to acknolwedge that stuff as 'coffee'.
Ice
A generous teaspoon of caramel
Shot of rum/amaretto/vodka/whisky/bourbon/baileys - what ever takes your fancy.
Throw all the ingredients into a cocktail shaker or large jam jar with a lid. Give it a good shake then pour into your serving glass.
I'm enjoying mine in the garden as I write this. It is ace.

Sunday, 19 August 2012
herby orange barbecued chicken

This recipe started life as an experimental marinade for some chicken we were grilling for a recent barbecue. It was so tasty I felt I should share it.
Ingredients
Juice and zest of an orange
2 skin on chicken breasts (thighs and legs would also work well)
couple of sprigs of tarragon
1 tsp dried oregano
sprinkle of chili flakes (optional)
sprinkle of fennel seeds
1 tbsp agave syrup/maple syrup/brown sugar/honey
1 tbsp oil
2 whole, peeled cloves of garlic
1 tsp ground cumin
salt & pepper
Slash the chicken in several places taking care not to go all the way through. This will help cover more of it with the marinade and speed up the cooking process.
Mix all the marinade ingredients together in a container large enough to also hold the chicken.
Put the chicken in the marinade making sure it is worked into the meat. Cover then leave to marinate for about 20-30 minutes.
Heat up the grill, griddle pan or barbecue.
Place the chicken on to the hot grill flesh side down (or up if you are using a traditional grill) for 3-5 minutes until it leaves cleanly away from the grill.
Turn the chicken so that it is skin side down and cook for about 10 minutes or so until the skin is golden and crispy and the juices run clear.
Serve with a simple salad and some flat bread rice salad.
spicy dr pepper shredded pork
I discovered this recipe from the pioneer woman while searching the web for inspiration the other day and just had to try it. It looked and sounded like a great combination of flavours and very easy to do so here goes.

NOTE: If you can't get hold of the canned chipotle peppers in sauce, you could try using a tin of tomatoes, a good couple of tablespoons of spicy smoked paprika and some added fresh chillies (whole) or some chilli powder.
Ingredients
c. 2kg Pork Shoulder Joint. This is what I used.
2 cans of Dr Pepper
2 x 212g/7.5oz cans of Chipotle chilies in adobo. (I bought mine through amazon.)
1 large onion cut into quarters
salt and pepper
- Preheat your oven to 150 C.
- Put the quartered onions in to the bottom of your pan and then put the pork shoulder joint on top.
- Next pour in the canned chipotle peppers and the Dr Pepper. Season with salt and pepper if you wish, put the lid on your dish then put in the oven. The aim here is to cook the pork long and slow so the meat eventually just falls apart. It will take around 6 hours for this happen. Turn the meat over every hour or so that all the meat gets chance to cook in the spicy, Dr Pepper sauce.
- Once the pork is cooked remove the meat from the pan and put on a plate and cover until needed.
- A lot of fat will have been released form the pork shoulder, so unless you want this in your sauce I recommend you strain this off. It is easier to do this if you allow it to sit over night in the fridge and the fat will solidify at the top.
- Once you have dealt with the fat (you may also wish to make the sauce smoother by blending it or passing it through a sieve), return the sauce to a saucepan and reduce down a little over a gentle heat. While this is happening use two forks pull the pork into shreds and then put in the sauce.
- Once your sauce is at your desired consistency, I like mine quite thick, the pork is ready to serve. It will work brilliantly with jacket potatoes, in a sandwich with good crusty bread or as we had it, in corn tortilla with a little cheese and a crunchy salsa.


Friday, 17 August 2012
easy mint and garlic sauce
This sauce goes brilliantly with my lamb kebabs or any other grilled food. Feel free to do as you wish with it. I tried it with some monkfish and salmon skewers and it was ace too. You can use any type of yogurt but I suggest you avoid set yogurts. There is also no need to go for full fat versions here, you are adding a lot of flavour so it seems a shame to waste the calories.
This is also another recipe in which it is best to use dried rather than fresh mint. I discovered this when reading one of my favourite recipe books from the Turkish restaurant, Sofra. Enjoy.
Ingredients
small pot of low fat natural yogurt. (I used this one.)
1-2 tsps dried mint
1 clove of garlic, crushed (optional)
salt to taste
pepper
Mix all the ingredients and adjust to your taste. Not everyone likes the taste or pungency of raw garlic so add as much or as little as you like.
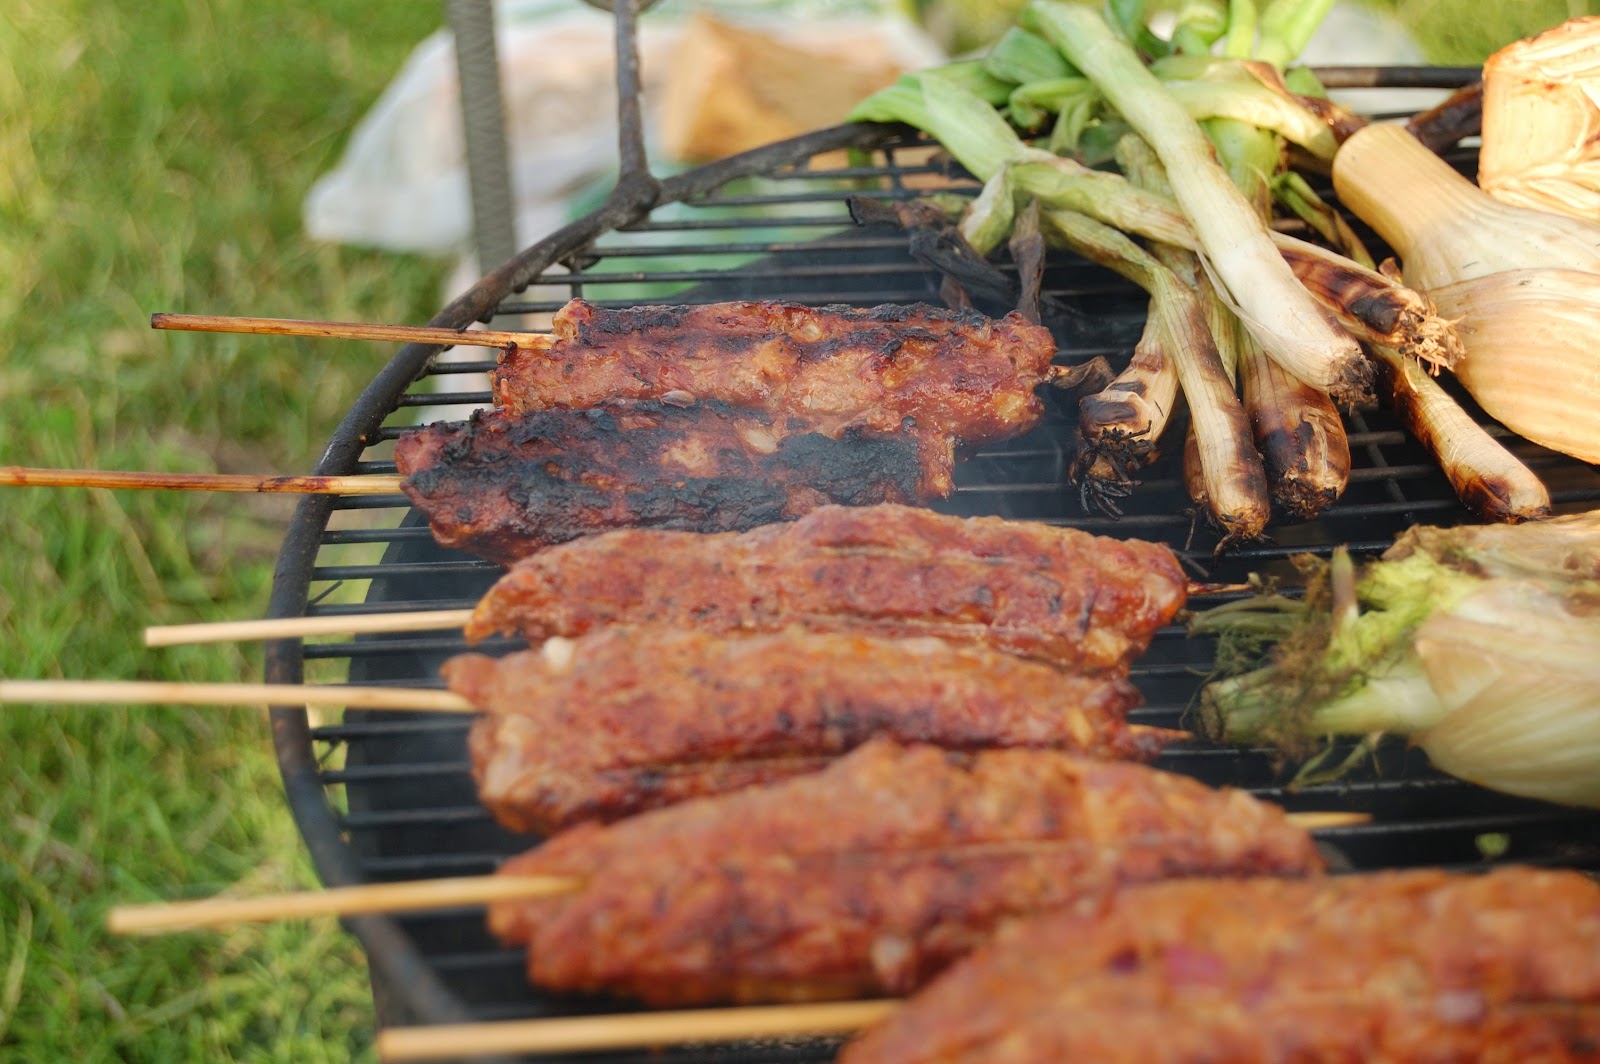
tasty easy lamb kebabs

We've recently come back from a weekend camping trip and were lucky enough to have glorious weather the whole time. As the campsite provided fire pits with cooking grills I decided to make the most of it and cook up an outdoor feast of lamb kebabs and grilled veggies. I can't help thinking that I was inspired to cook lamb because I was in a field of sheep!
Ingredients
400g lean lamb mince (you can use the full fat version but this still has more than enough fat in it)
2-4 tsp harissa paste
1 tsp dried mint (it really is much better than fresh in this recipe)
red chilli flakes (optional)
small onion, finely chopped or grated
salt & pepper
Skewers (if you are using wooden ones make sure they are soaked in water for at least 30 mins)
Makes 6-8 kebabs depending on size.
- Preheat your griddle pan if cooking indoors or make sure you barbecue/fire is glowing hot and ready to cook on.
- Mix all the ingredients together in a bowl, hands work best but use a spoon if you must.
- Divide the mix into 6-8 portions in the bowl then take each portion and form into long sausage shapes around the skewers. You don't have to use the skewers but it does make it easier to turn the kebabs. If you don't use skewers feel free to shape the lamb however you wish.
- Place the kebabs on the very hot grill/griddle pan and don't move them around or turn them until they are nicely browned and come away easily from the grill. Once they can be moved, rotate them so that they are cooked evenly. you want them to be nice a golden brown all round - not burnt.


Thursday, 16 August 2012
iberian feast

Having recently returned from a trip to glorious Porto I have now developed a serious taste for the drink that gives the town its name. The city is visually stunning and lots of fun to explore with some lovely bars, restaurants and cafes and a great atmosphere. One of the most memorable parts of the trip was learning about port and you really can't go there and not sample the drink. In one particular bar you can enjoy a huge variety of ports from a range of bodegas. They also offer a tasting selection accompanied by chocolate and fruit. We enjoyed the atmosphere of this bar so much that we returned on subsequent nights.
Since returning home we have now set ourselves the task of finding our favourite tawny port. We've got three bottles lined up and will be accompanying the tasting with some of our favourite Iberian foods.
Gambas al Pil Pil
Ingredients
Approx 300g raw prawns
3 tbsp extra virgin olive oil
3-5 cloves garlic (add more if you want it extra stinky), finely sliced
at least 1 tsp dried red chilli flakes but feel free to add more to taste.
Salt and pepper to taste
- Heat up your pan, add the oil followed by the garlic and chili flakes.
- Once the garlic is golden brown, take care not to let it burn, add your prawns and cook until they have turn pink all over and are completely cooked. This will take a couple of minutes.
- Season with salt and pepper.
- Put the whole lot into a serving dish, oil and all, and you're ready to eat. It isn't particularly low calorie but it is really tasty to dip your bread in the garlicky, chili, prawn oil. Yum.


Padron Peppers (Pimientos de Padron)
Whilst this is a Spanish recipe, Padron peppers come from the town of Padron in Galicia, which is the bit of Spain that overhangs Portugal in the north. This is a ridiculously easy recipe but it is important you get the correct peppers and don't scrimp with the salt. In season, Padron Peppers are starting to appear in supermarkets. I've also noticed an Italian equivalent called Friggitelli in some supermarkets. They are not the same kind of pepper but could serve the same purpose in a tapas selection.
Ingredients
Packet of Padron Peppers - 130g is enough for two to share as a tapa
Olive Oil - approx 2-3 tbsp
Sea Salt - Maldon would be perfect here.
2 Servings: 128 calories, 14g fat, 2g sat fat
- Heat a frying pan until it is very hot, a couple of minutes should do it.
- Pour in a generous glug of olive oil, you want the base of the pan to have a covering of about 2-3mm depth.
- Put the peppers in the pan keeping the heat high. Move them around a bit so they cook evenly. You are aiming for the peppers to blister and colour up. This will take about 2-3 minutes.
- Take the peppers off the heat and pour into a serving dish. Sprinkle them generously with the sea salt and serve. If you're not concerned about calories it is nice to dip your bread in the oil left behind in the serving dish.


Grilled Courgette & Aubergine
Another super easy recipe but full of great
flavours. You can eat this warm or prepare it in advance and chill it for
eating later. You can cut the courgette and aubergine any way you like but it
is easier to serve and eat if you try and keep them similar.
Ingredients
1 courgettes, sliced lengthways 5mm thick -
approx. 220g
1 aubergines, sliced lengthways 5mm thick -
approx. 500g
Olive Oil - 2 tbsp
Juice and zest from 1 lemon
Black Pepper
Salt
Fresh rosemary, chopped - 1 sprig
Fresh oregano, chopped - 1 sprig
clove of garlic, crushed
Oil Spray
For a variation try adding a sprinkle of
dried chilli flakes and/or a teaspoon of fennel seeds.
- Heat up your griddle pan, it needs to be very hot - do not add any fat to the pan, it will smoke and burn needlessly.
- Mix together the olive oil, herbs, salt, pepper, lemon juice and zest and garlic (and the chilli flakes and/or fennel seeds if you're using them) and leave to one side.
- Once the pan has heated up, lightly spray the veg slices and place the pan in a single layer and cooked for a couple of minutes on each side. Don't move them around otherwise you won't get the grill marks.
- When the slices lift up easily from the pan and have got a decent colour on them turn them over. Depending on the size of your grill pan you might need to do this in batches. Once each batch is cooked, remove them from the pan and place in your serving dish.
- Once all the courgette and aubergine is cooked pour the oil, lemon juice and herb mix over them slices and then leave for at least 10 minutes for the flavours to mix.


polish poppy seed and caramel cheesecake (Sernik kajmakowo-makowy)

As a school child I would go round to my Polish gran's house most days after school and the taste and smell memories of the food she used to cook for us will always stay with me. One of my absolute favourite Polish specialities is sernik, or cheesecake, especially when it contains poppy seeds (mak).
Below is my version of a recipe I found on the Polish language food blog, White Plate. If you live in London or any other area with a large Polish community you shouldn't have any difficulty finding the ingredients. If you can't find the cheese I used, ricotta would be a good substitute or you could try a full fat cottage cheese drained of the liquid.
Smacznego!
100g Plain cake (e.g madeira cake)
50g biscuits (e.g Rich Tea)
30g butter
1kg Polish Curd/Cottage Cheese (I used this brand which I found in my local Tesco)
5 medium free range eggs
150g caster sugar
1 tbsp corn flour
200g poppy seeds
200g tinned caramel, dulche de leche or similar (I used the tinned Nestle Carnation Caramel)
Few drops of natural rum or vanilla flavouring.
Orange or lemon zest.
For 16 servings: 1 slice 314 calories, 16g fat.
For 16 servings: 1 slice 314 calories, 16g fat.
- Thoroughly grease a spring form, 30cm diameter cake tin with butter and pre-heat the oven to 160 degrees (fan assisted) or 180 regular oven.
- Using a food processor wizz up the cake and biscuits to fine crumbs. Melt the butter then stir into the crumb mixture until well combined
- Press the crumb mixture into the base of the tin with a spoon or spatula.
- In a large bowl beat the cheese with the sugar for 2-3 minutes until well combined then beat the eggs in one at a time. Use a spatula to bring down the mixture from the sides.
- Next beat in your chosen flavouring, the lemon or orange zest and the corn flour then divide the mixture equally between two bowls.
- Add the poppy seeds to one of the bowls and combine thoroughly. Pour this mix onto the biscuit base. The poppy seed mixture should be at the bottom because it is heavier than the caramel layer.
- Next add the tinned caramel to the second bowl of cheese mix and combine well. Finally pour this carefully on top of the poppy seed layer in the tin.
- Put the cheese cake in the oven on a low shelf for around 1hr - 1hr 10 mins. The top should be a golden brown and the mixture should still have a slight wobble but be set. Once you have reached this stage turn the oven off, open the oven door slightly and allow the cheese cake to cool down completely in the oven.
- Once the cheesecake is cool enough, transfer it to the fridge and leave it to chill for at least a couple of hours, ideally overnight before eating.


Subscribe to:
Posts (Atom)